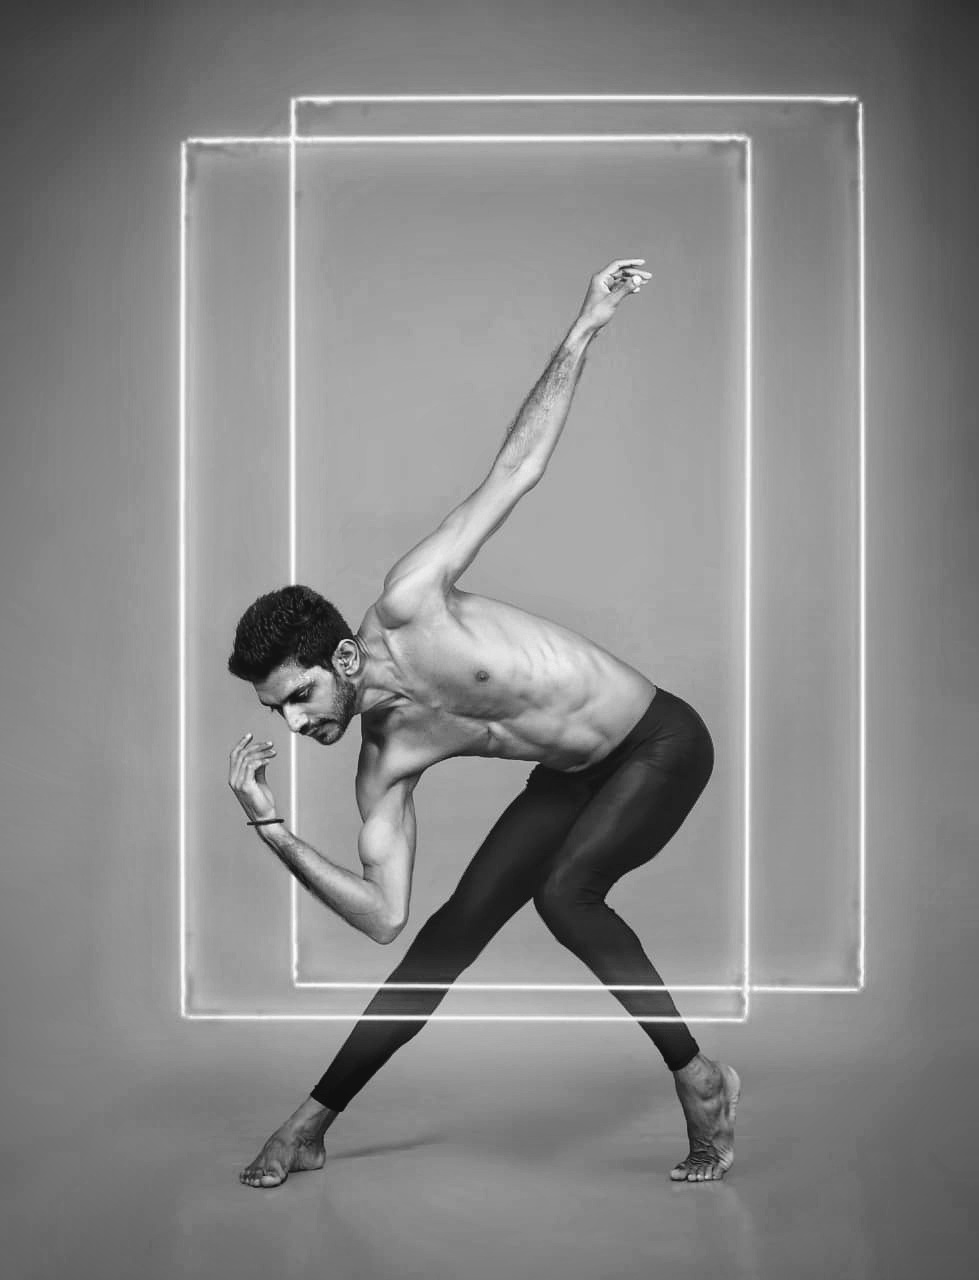
Dancers rely heavily on their ankles. While this means we can wear heels with greater ease than the ordinary woman, it also means we are more prone to overuse ailments such as ankle sprains and strains. The repetitive motions we execute in class, including jumping, twisting, and quick weight transfers, can impose a lot of strain on the ankles, especially if they are not properly strengthened.
Improve your ankle stability and range of motion to avoid ankle problems. One method is to conduct ankle strengthening exercises outside of dance class. If you’ve had even one ankle sprain, you’re more prone to injury in the future.
This is because, following an injury, the ligaments in your ankle might become slack. Even after recuperation, it is critical to maintaining good technique and training to support weakened or often used regions of the body.
Because everything in our bodies is interconnected, the optimal injury prevention technique includes strengthening the entire body. Hip instability can lead to ankle instability; hip problems can be directly related to spinal disorders. Following that chain, a condition in your neck or calf muscles can eventually become an issue in your ankles and feet if not properly maintained!
However, there is no damage and tremendous reward in performing targeted strengthening activities. If you frequently dance in heels, en pointe, or barefoot, working on strengthening the muscles that provide ankle stability will improve your range of motion in those genres.
Try these Sugarfoot Therapy exercises to strengthen and stabilise your ankles at your speed. The opportunity to perform them from the comfort of your own home can help you avoid having to perform identical exercises as part of physical therapy or rehabilitation later on (as in, in response to an injury). After all, the best time to treat an ankle injury is before it occurs!
A resistance band and a yoga mat are required.
Engaging the Arch in the Foot
Exercise 1
This workout consists of a sequence of tiny squat steps. Your body learns to prioritise ankle stability in weight transfers and weight-bearing activities as you step.
- Make a circle with the band, then loop it around your right heel so that the band is cupping the heel.
- Hook the outside section of the band beneath your big toe on the right. You should now be holding the band between your feet, with your right foot secured by your ankle and toe.
- Twist the two band parts that are between your feet. You should see an X if you look down.
- Repeat the process on the left side using the left half of the infinite loop you just made.
- Step your left heel into the band, then hook the outside of the band underneath your big toe.
- Standing with your feet hip-width apart, you should notice the band (now crossed) dragging your feet together. You must withstand the tension by keeping your feet planted on the ground.
- Squat and reach your tailbone back, drawing your abdominal muscles in and taking small side steps to the right. Maintain your weight on your heel, but don’t entirely return to them. This can be helped by spreading your toes wide!
Do 10 steps to each side.
Exercise 2
This exercise strengthens and stabilises the relevés.
- Begin with the band in the same position as before.
- Then, while opposing the band and working your leg muscles, steadily elevate your heels up and down.
- This should be done ten times.
Exercise 3
You will need a stronger resistance band for this activity. You can also enhance resistance by looping your band twice.
Do you remember the clamshell exercise? With a band around your thighs, you’ll be doing just that, but instead of lying on one side, you’ll be standing.
- Begin with your feet hip distance apart.
- Maintain both feet on the floor while slowly bringing your right knee in towards the centre—you don’t have to touch your knees, just close your thighs until you feel your internal rotation functioning and the band looser.
- Then slowly open your legs, feeling the resistance and engaging your glutes.
Throughout the exercise, maintain each foot firmly on the ground and pull up through your arches. Repeat on each side 10 times.
Repeat the forced arch for an added challenge.
Moving Dynamically While Maintaining Stability
After you’ve stimulated these muscles, ask them to fire and support your ankle joints as you move dynamically.
Exercise 4
Lunges, when done correctly, engage practically every muscle group in the lower body, particularly your dancer’s powerhouses: the quads, glutes, and hamstrings.
Perform five lunges in each position (front, back, and side) to practise finding stability from your ankles to your hip. A word of advice: much as in partnering, dead weight is more difficult to shift about! Engage your core and maintain your shoulders square to make lunges easier, so your legs can focus on good alignment and strength use.
Repeat this set with a forced arch instead of a flat foot for added difficulty. This is quite useful for working in heels!
Exercise 5
Standing on one foot on top of a folded yoga mat or gymnastics mat to create a slightly uneven surface, move the ankle laterally. Laterally means from one side to the other, so roll towards the arch and then lift through the arch till you’re pushing on the outside border of your foot. Repeat on each side six times.
Exercise 6
Finish with several ankle circles; no equipment is required. Perform a full clockwise rotation on each ankle six times, using a wide range of motion. Take note of how your ankles feel following these exercises, noting an increased range of motion, stiffness, or soreness.

